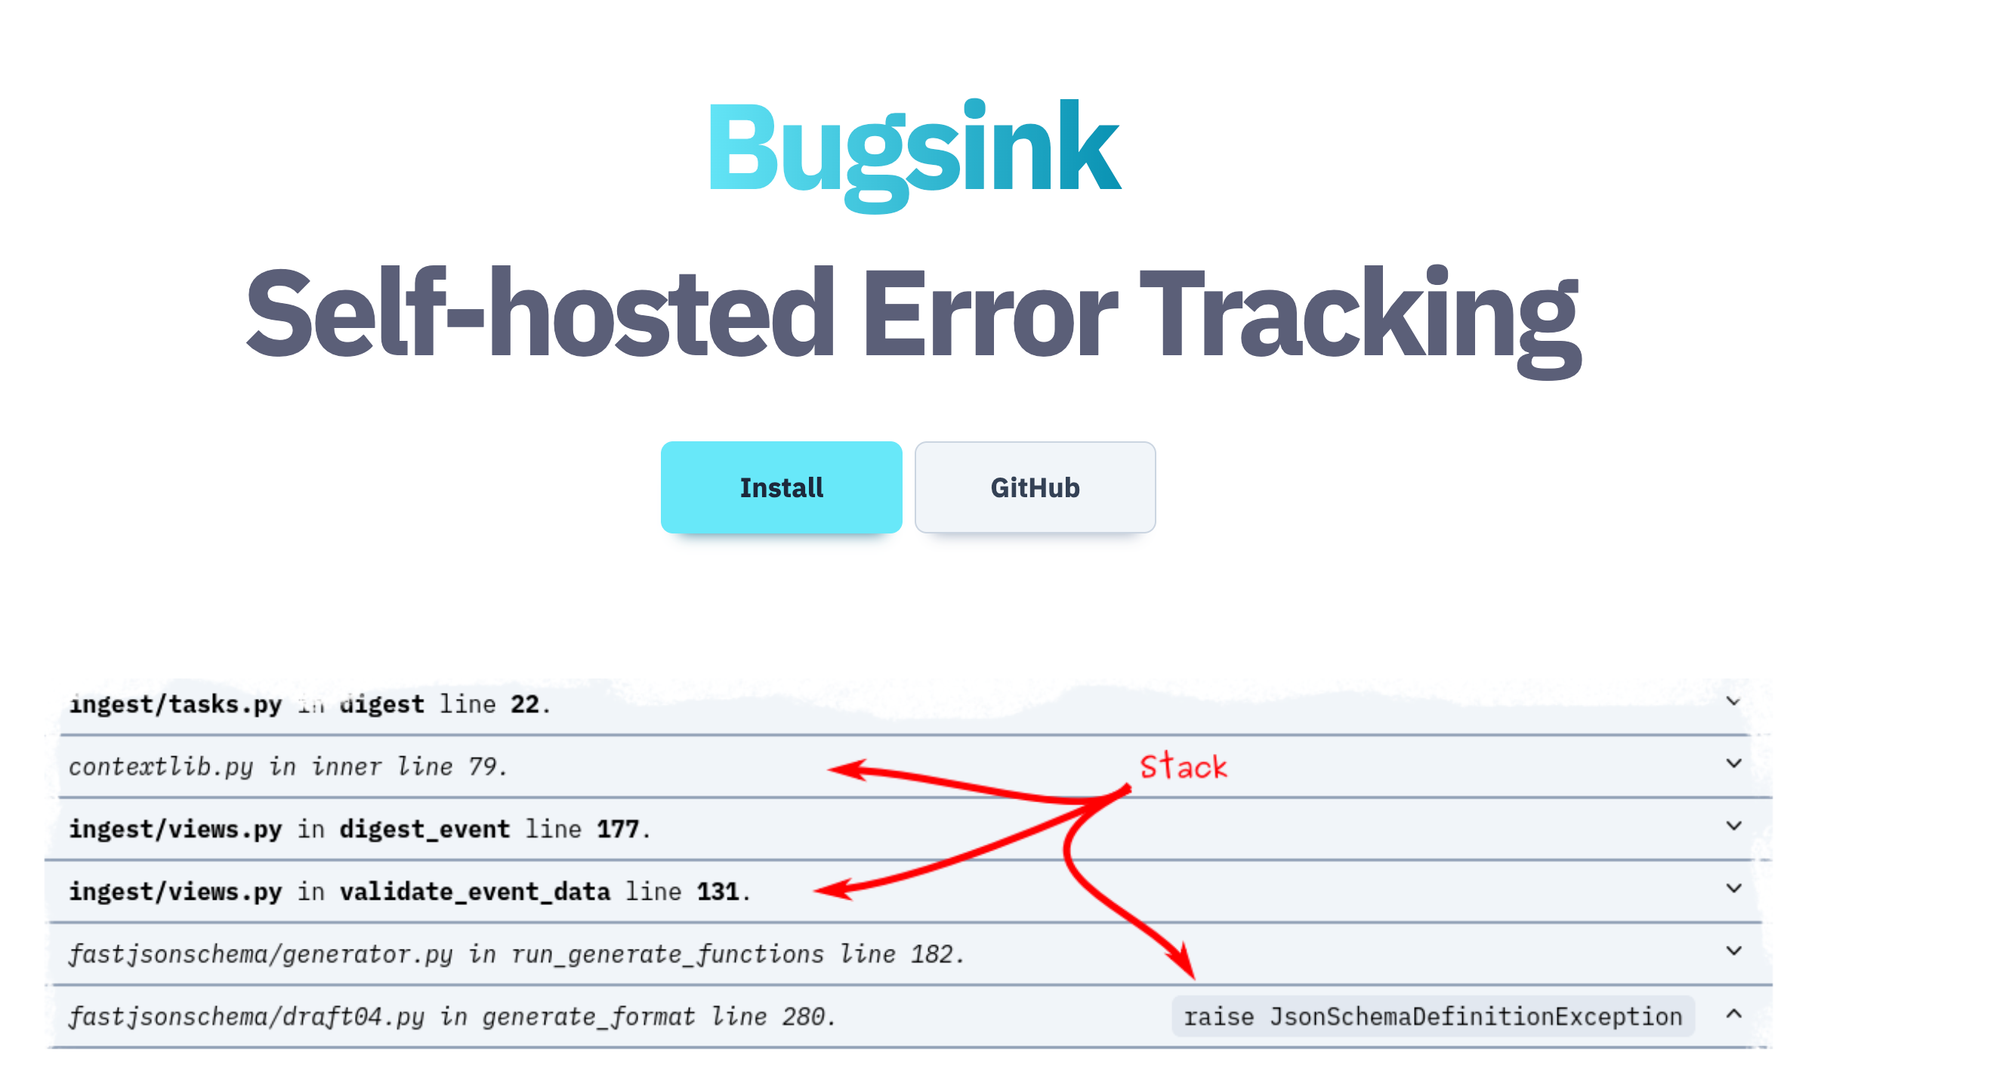
Hosting Bugsink on Coolify
A simple Docker Compose setup to host Bugsink using Coolify that supports HTTPS

TL;DR : There is a bug in Coolify currently preventing to use the default Bugsink deployment template. This post describes a method to deploy via Docker Compose while waiting for a fix.
Some context
As some of you may know already, I've been moving off the public cloud the past year and started deploying my applications on my own server instead using Coolify. I do this for many reasons, one of them being that I want to support indie projects more and I really like Andras' open approach to building his company.
Since last summer, I've been following Klaas' journey into building Bugsink; a simple but effective error tracker. (Disclaimer : I have been doing some advising work for Klaas and am biased here 😊, but my opinion is 100% honest here).
The main deployment template
Coolify has a module system that you can use to install services from templates. I have learnt about it a bit, since I contributed the first version of the Bugsink template to it 😊. The template uses a Docker Compose deployment in the background.
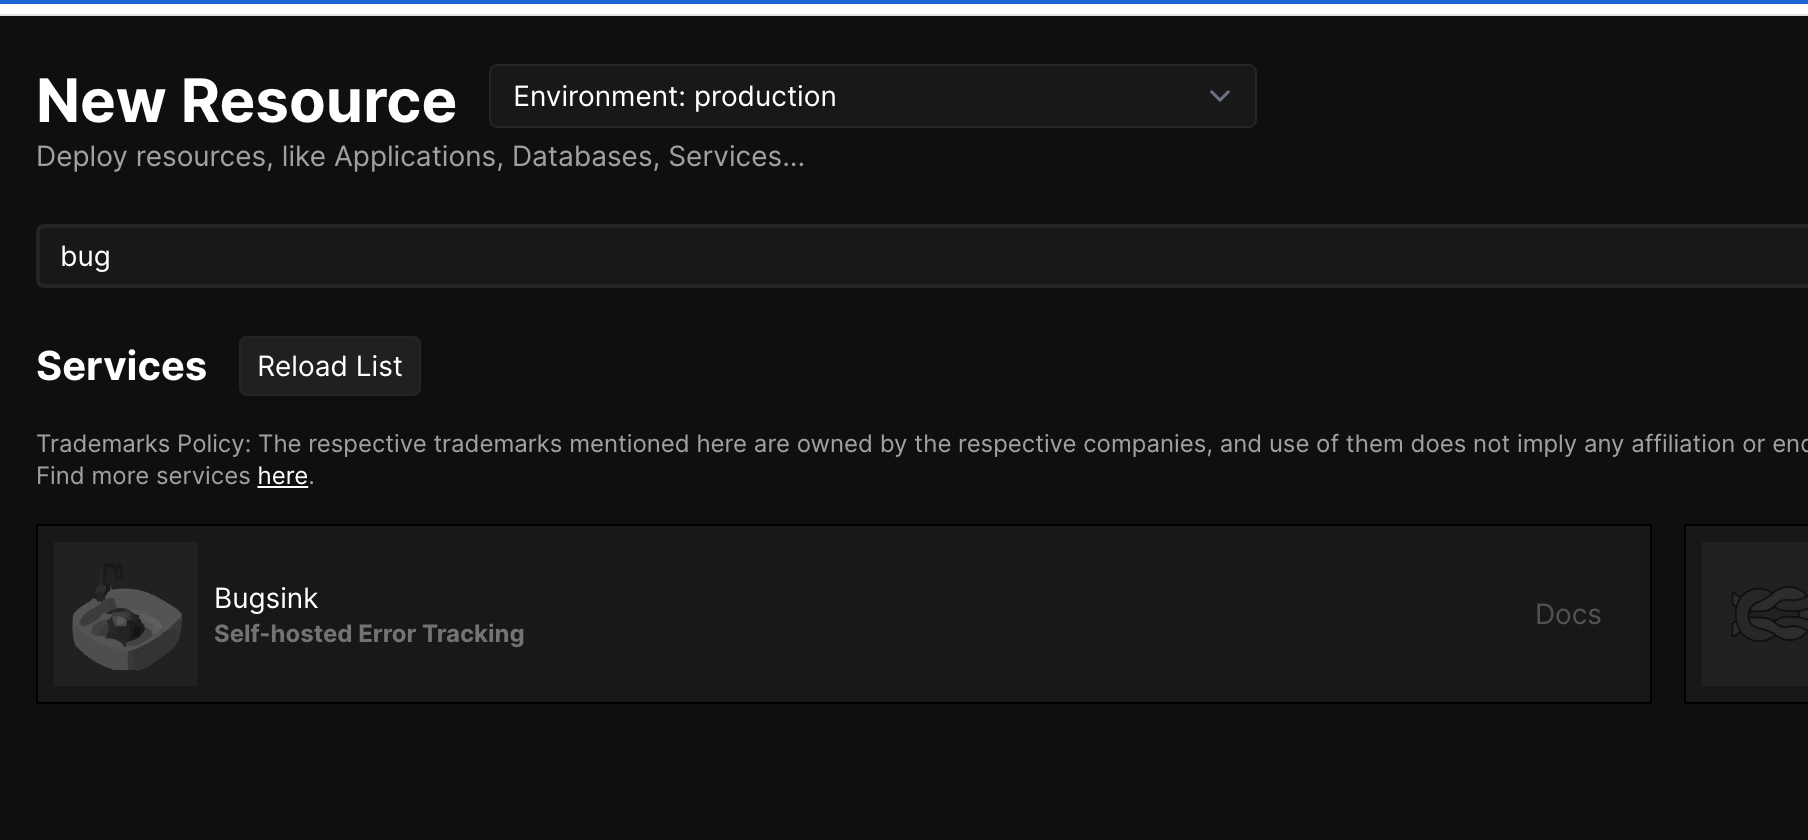
Pretty handy when working on a new project. Pick service, click, use.
The bugsink blog actually has coolify deployment page, but the problem is that the latest version of Coolify has a issue where some environment variables can't get updated properly after the original deployment. This makes it impossible to deploy Bugsink properly in my case.
While waiting for the bug to be fixed, I dived deeper into the Docker Compose file and ran my own version.
Current deployment
I started from the Bugsink Docker compose documentation page, but I ran into multiple issues specific with Coolify with the setup :
- I needed to setup port redirection because I didn't want my DSN address to contain any port (meaning I had to use Coolify's magic variables)
- I wanted HTTPS to work as expected
- I also wanted my
BASE_URLto be properly recognized by bugsink, while it is refusing any request that is not from an authorized domain.
This is the Docker Compose file that I currently use :
services:
  mysql:
    image: 'mysql:latest'
    restart: unless-stopped
    environment:
      - 'MYSQL_ROOT_PASSWORD=${SERVICE_PASSWORD_ROOT}'
      - 'MYSQL_DATABASE=${MYSQL_DATABASE:-bugsink}'
      - 'MYSQL_USER=${SERVICE_USER_BUGSINK}'
      - 'MYSQL_PASSWORD=${SERVICE_PASSWORD_BUGSINK}'
    volumes:
      - 'my-datavolume:/var/lib/mysql'
    healthcheck:
      test:
        - CMD
        - mysqladmin
        - ping
        - '-h'
        - 127.0.0.1
      interval: 5s
      timeout: 20s
      retries: 10
  web:
    image: bugsink/bugsink
    restart: unless-stopped
    environment:
      - SECRET_KEY=$SERVICE_PASSWORD_64_BUGSINK
      - 'CREATE_SUPERUSER=admin:$SERVICE_PASSWORD_BUGSINK'
      - SERVICE_FQDN_BUGSINK_8000
      - 'DATABASE_URL=mysql://${SERVICE_USER_BUGSINK}:$SERVICE_PASSWORD_BUGSINK@mysql:3306/${MYSQL_DATABASE:-bugsink}'
      - BEHIND_HTTPS_PROXY=true
      - BASE_URL=$BASE_URL
    depends_on:
      mysql:
        condition: service_healthy
    healthcheck:
      test:
        - CMD-SHELL
        - 'python -c ''import requests; requests.get("http://localhost:8000/").raise_for_status()'''
      interval: 5s
      timeout: 20s
      retries: 10
There are only a noticeable changes :
- I added the
BEHIND_HTTPS_PROXYvariable, because you don't want to run a bug tracker on plain HTTP. - I separated the generated qualified domain name that Coolify uses and the
BASE_URLvariables.
Now, before deploying there is two more small manual steps to do :
- Set the desired domain name in the Bugsink web settings (you can use the default generated if you want, I decided to roll my own).
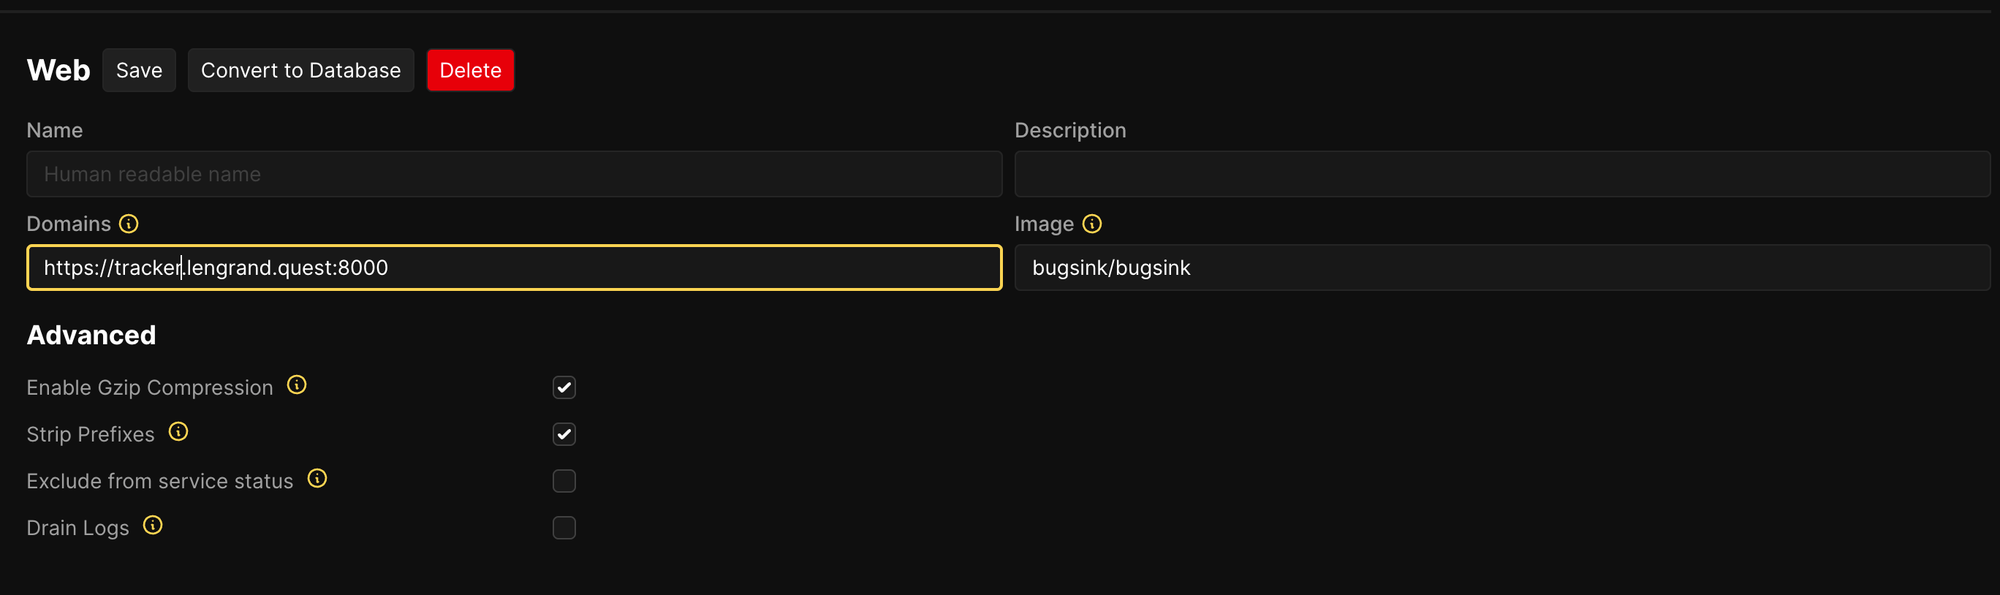
- Set the
BASE_URLenvironment variable to the same value

Note : you need to align the port that bugsink is running on, the port in the domain settings in bugsink, set the rediretion in the DockerFile using the FQDN environment variable and omit it in the base url variable for everything to work as expected.
Testing is all
The last thing to do is to deploy, and test an error against a project in Bugsink. For this, you can create a project in the application until you hit the SDK setup page.
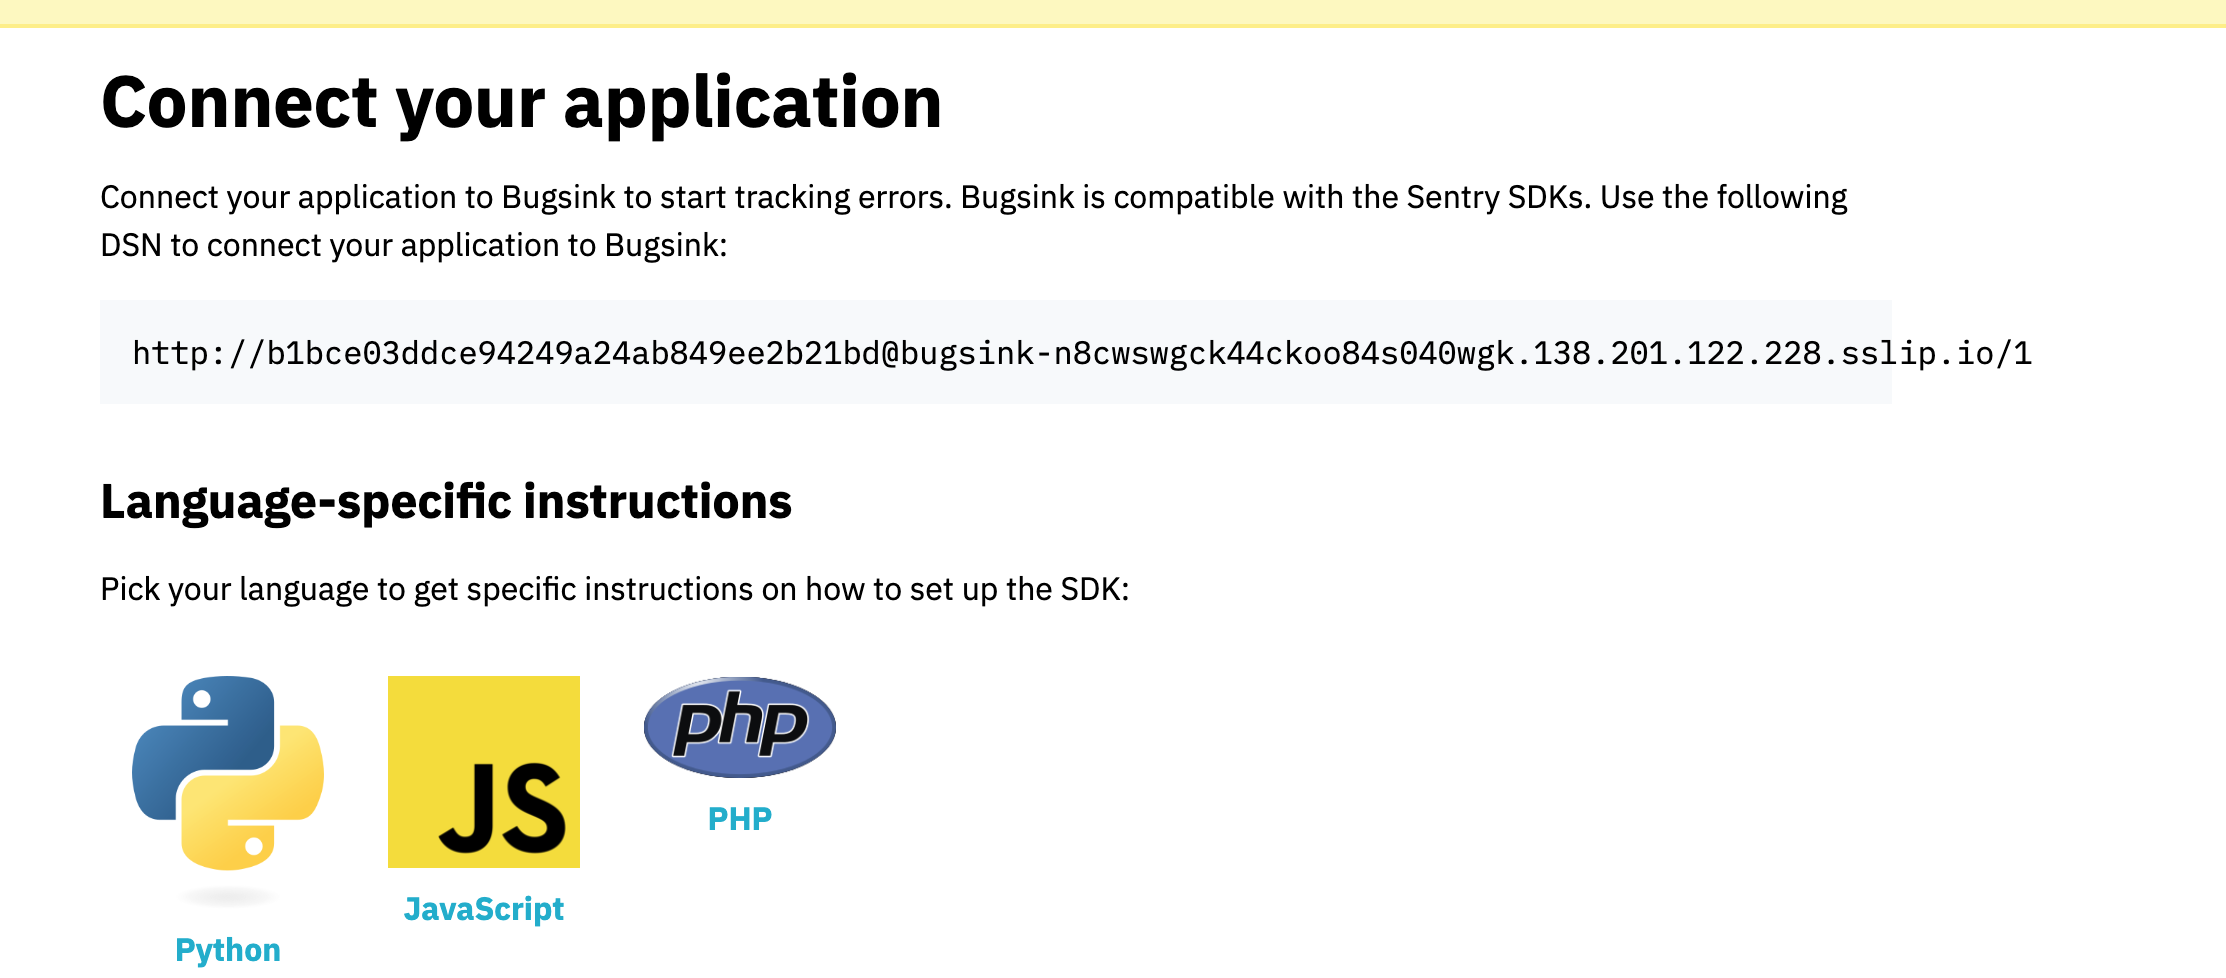
Once this is done, you need to trigger an error in a project, Bugsink's documentation explain how very well. There are several ways to do this but in the past I faced network and setup issues.
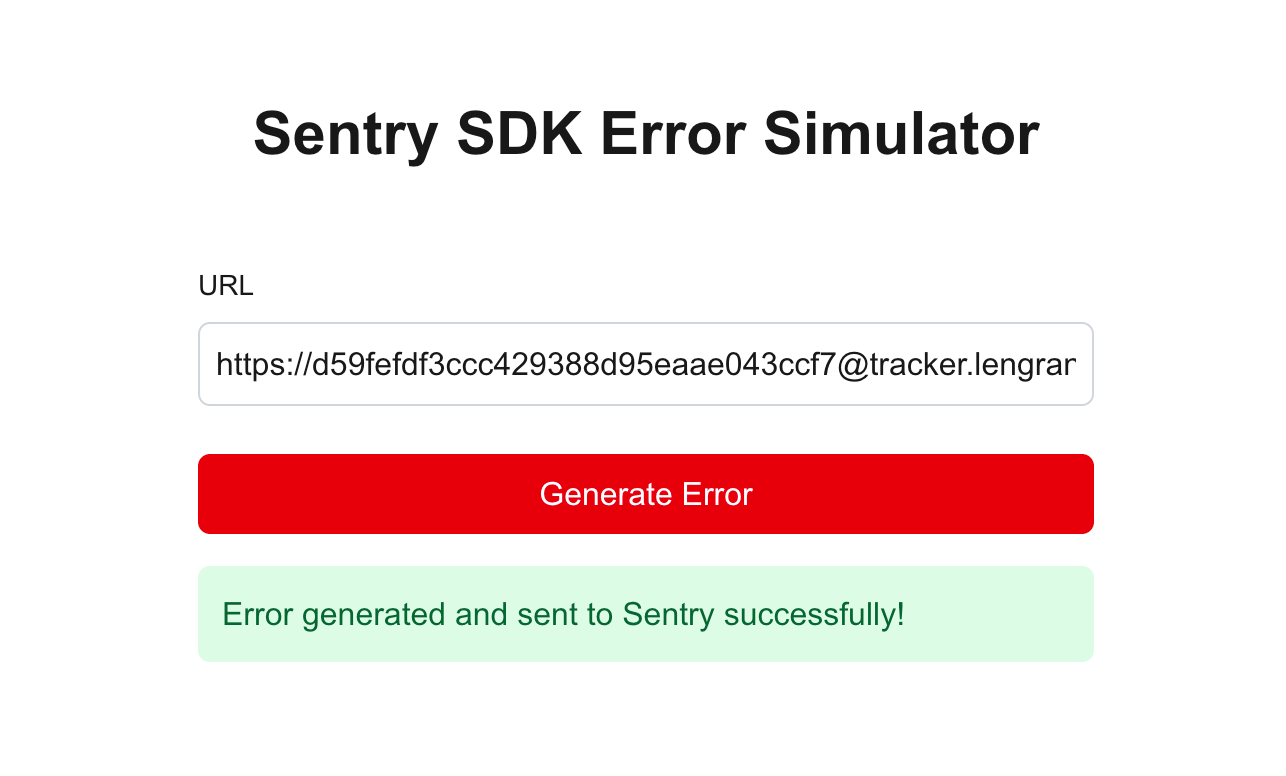
To make sure I am testing only Bugsink and not my application setup, I created a small project called Sentry Error Generator (This application does not log anything, but be aware this is a sensitive action to do). Go to the website, enter the setup URL Bugsink gave you and press generate error. You should see it in Bugsink.

Congratulations, you are now collecting your application's errors (for free, if you have followed this guide! Oh, and if your current bug tracker too expensive and want a smaller and simpler alternative but with no maintenance, Bugsink has some hosted and supported options too (As I've said earlier, I'm biased!).