Building Command Line Interfaces with Kotlin using picoCLI
In this article, we'll look into use cases where CLIs are a great idea. We'll also dive into best practises, and discover one of the most used library for CLIs in the JVM world : picoCLI.

TL;DR : We'll dive into a few interesting bits about CLI applications and picoCLI. But you can directly see the code here, or view my related conference talk here.
As a developer, there is a large chance that you use Command Line Interfaces (CLIs) every day. From Git, to kubectl or Maven, they are everywhere. In this article, we'll look into use cases where CLIs are a great idea. We'll also dive into best practises, and discover one of the most used library for CLIs in the JVM world : picoCLI.
Why using Command Line interfaces
There are a couple reasons why a CLI can be a good use case for you and your users.
- In case you create fat jars that you run with input arguments, creating a thin CLI wrapper around it can be of great help for you and your users. Indeed, it looks cleaner and abstracts the JVM ecosystem away. This becomes easily clear with an example.

- Compared to running in an IDE, or via a GUI, CLIs make it very easy to interface (pipe) with other terminal tools, or scripts.
- CLIs usually also have a very clear and embedded man / help page. This helps your user use the tool in the right way and avoids having to look at documentation or ask for help.

- Finally, we can perpetuate stereotypes. Everybody knows that real developers only use the command line DUH. (Please don't listen to people, and use whatever you prefer / are most productive with)
By now, you should be convinced that a CLI can be a nice addition to your developer's toolbelt. So let's have a deeper look into how to create one using Kotlin, and picoCLI.
About picoCLI
picoCLI is one of the many options available to you to create CLIs on the JVM. Other possibilities include Jakarta Commons CLI or Clikt if you're using Kotlin.
I personally am a big fan of picoCLI because of its amazingly extensive documentation and how helpful the main author is online. The library has been downloaded over 2.5 million times the past year, and is used in very large projects such as Junit, Spring, or Apache hadoop. The complete list of available features is way too long to be listed here, but today we'll look into help generation, color support, annotations and compilation to native images. To do this, we will be creating a simple CLI to return information about Star Wars characters or planets.
A sample project
The snippet and code used in this article are all directly taken from my swacli demo application. You can find the code on GitHub.
At its core, picoCli is nothing more than a Java library. To add it to your project the only thing you actually are required to do is add it to your Maven or Gradle dependencies. It is also recommended to add support for the annotation processor in your IDE. The annotation processor allows for compile time error checking, instead of runtime but it is also useful to generate GraalVM configuration files later on during native compilation.
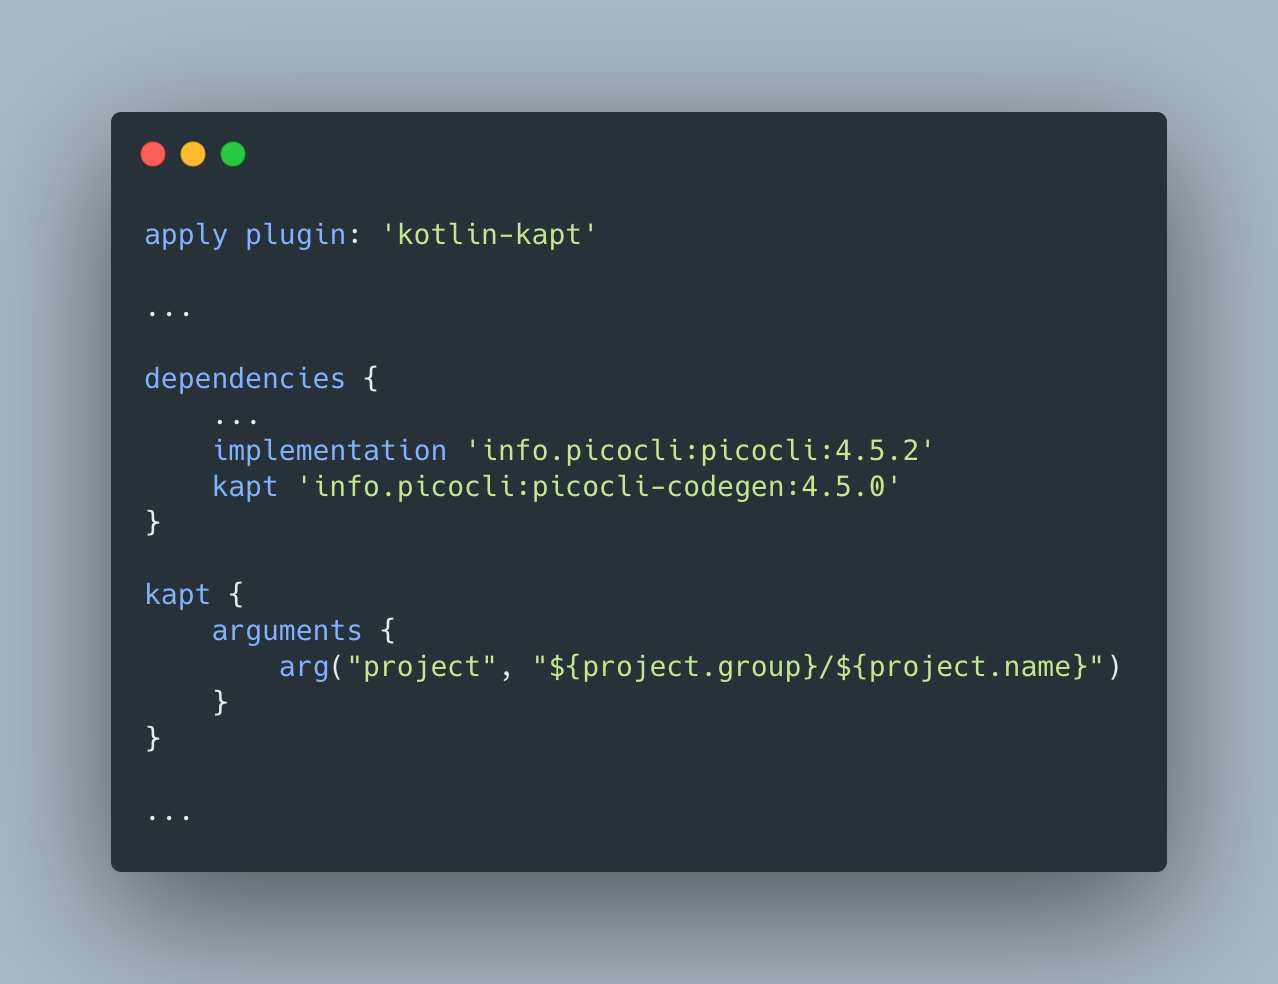
Note: Even though I love the annotation processor, I tend to disable it because it has a tendency to slow down my IDE a lot.
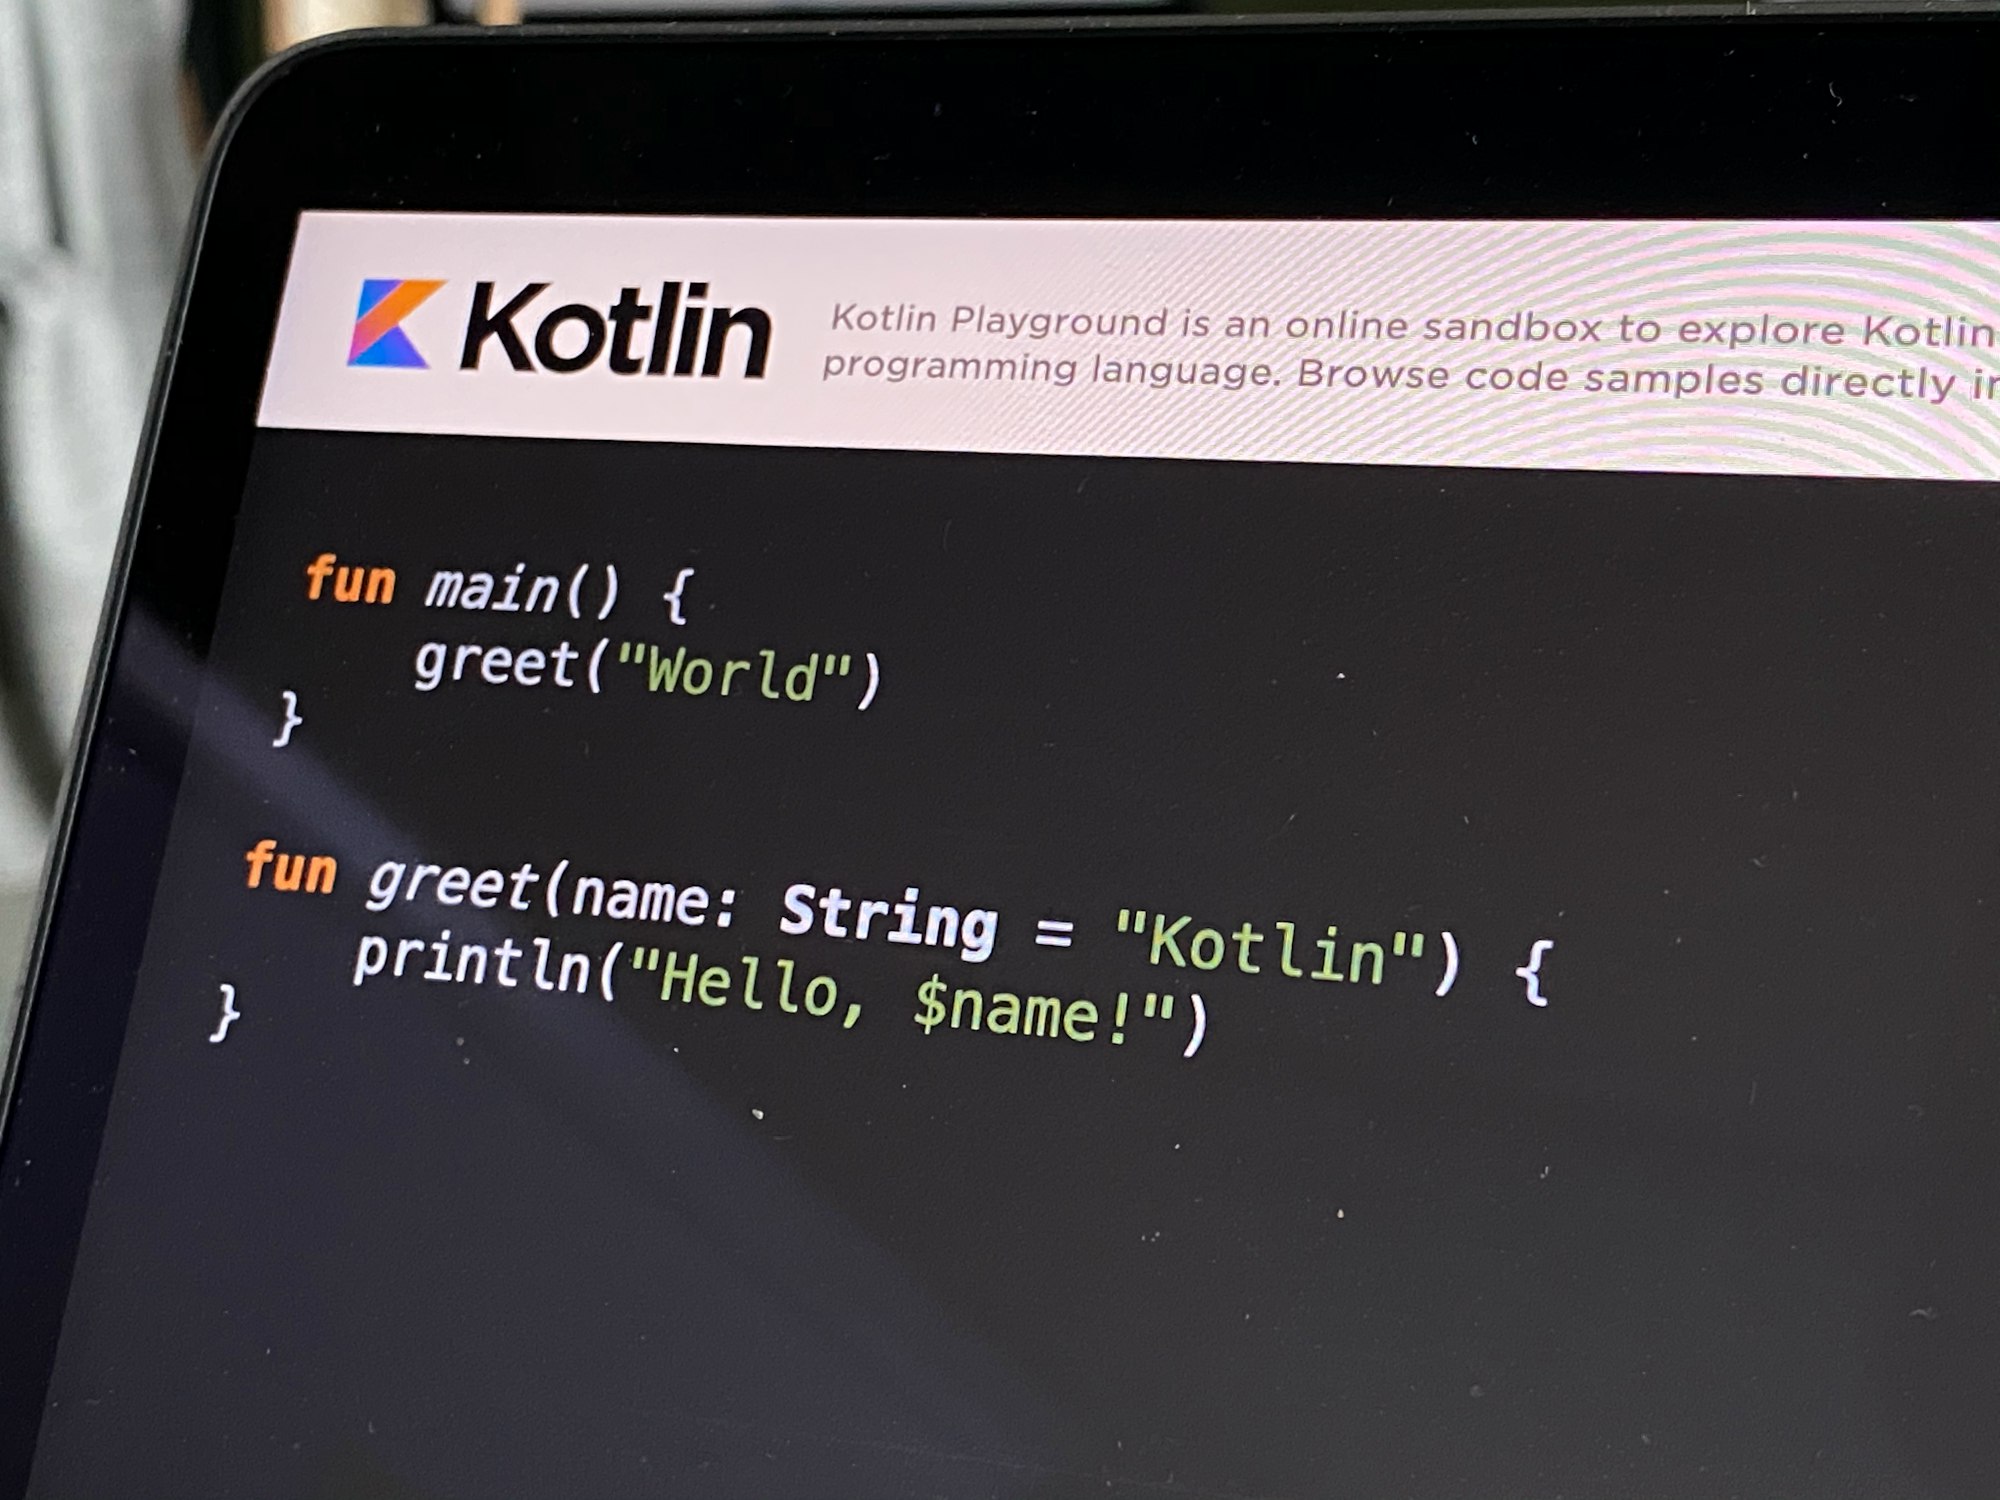
Running Hello World
As usual, the first thing we want to do with a new tool is to run Hello World.

From this example, we discover a few things :
- CommandLine is the core Object of picoCLI. It will take care of exception handling, help, requests, and signal passing for you.
- picoCLI will wrap around any Callable or Runnable. This means that your core logic should be embedded in a Runnable or Callable.
- We can use the @Command annotation for picoCLI to generate things for us. In that case, we provide a name, version, and description to the tool. We also tell it to generate standard help for us. This allows us in a single line of code to do things like sw --version or sw --help . Here is the output when running the snippet of code above with the --help input parameter.

"A user interface is like a joke, if you have to explain it it's not that great" - Martin LeBlanc.
Tip :Make sure to describe all you can when defining your CLI, picoCLI will make sure to generate great help for you and make sure your users are not confused.
Diving into Options and Arguments
Without being able to provide any inputs to it, a CLI usage would be very limited. Inputs are usually divided into two main types :
- Parameters : (or 'positional parameters') the values that typically come after the tool name. Examples are cd ~ (used to move to your $HOME folder), or cat README.md LICENSE.md (used to read the files listed to standard output sequentially).
- Options : flags that usually have a name. They can stand by themselves or require a value behind them. For example ls -a (list files, including directories).
- Most commands will contain a mix of Options and Parameters, for example ffmpeg -i input.mkv -c copy output.m4v.
Because this will be the main interface between our users and the tool, we should take good care of choosing options and arguments that make sense.
In our Star Wars use case, we want users to be able to search for planets OR characters and either insert some search item (ex : 'Darth') or nothing and get a full list of characters back. Let's see how those options and parameters look like :

- We define our search query using the Parameter annotation. Because there is only one parameter, we place it at index 0. And because we allow the search query to be empty, we define an arity of 0 to 1. Just like for databases, an arity defines the number of arguments the parameter can take (bounded by 0, 1 or n).
- We define two options, which define the search mode (planet, or character). We define short, and long names for them
- Because we want users to search for planets OR characters, we define those options as exclusive to each other. And to avoid confusing the user, we force him to pick one of them by setting the default option values to false.
Here is what happens when trying to run the code without specifying one option :

Tip : Don't break conventions that have been there for decades. -i (input) , -o (output), -r (recursive) have typical meanings when using command lines. Make sure to apply those unwritten conventions
SubCommands for a better user experience
You may already have heard or seen subcommands in CLIs. Subcommands are basically using semantic words to achieve your actions. Typical examples are kubectl get services, or gh repo clone jlengrand/swacli. SubCommands are perfect in our case because they allow us to get rid of our clunky exclusive options. Let's see how to implement them :

I omitted all the non-crucial information here. What is important to note is that at their core, subcommands are literally nothing else than commands themselves. In this snippet, I created a PlanetsCommand as well as a PeopleCommand, and defined them as subcommands using the subcommand argument of the annotation. Note the use of HelpCommand, which is provided by picoCLI to allow for sw help usage.
Using this method, users can now search for sw planets tatooine or sw people Luke.
Colors and Emojis support for clear information display
Nowadays, all terminals support color schemes as well as emojis (!!). We can leverage those to present information to our users in the clearest possible way and reduce cognitive load. picoCLI supports a custom markup notation that helps with color usage.
Picturing a Response object that contains a number of results, together with data about a planet, here is a snippet that declares markup. picoCLI declares '@|' and '|@' , in between which specific colors and types can be defined such as 'bold,green'. The unicode characters that can be seen represent emojis. Much more can be done with colors in picoCLI, such as palettes. You can read more about it here.

Native compilation for a blazing fast experience
The last thing we can do to help our users enjoy our CLI is to make sure it's blazing fast. This is where native compilation and GraalVM come into play.
picoCLI supports GraalVM native compilation by default (unless you added some unsupported library). To generate a native executable, run the following command (with graalVM and its native-image extension enabled on your system)

On my machine, the execution time for sw planets tatooine goes from around 1.6 seconds to a whooping 0.03 seconds. A must have, clearly (if you can offer the increased compilation time and the added complexity for multiplatforms usage)! You can read more about GraalVM's native-compilation here.
With this article, we barely scratched the surface of what picoCLI can do. Hopefully though, I gave you some useful tips to create nicer user experiences and you now feel like trying it out yourself. Find a small utility that you and your team uses often, spend a couple minutes adding a CLI layer around it and see how you like it!
Looking forward to hearing it from you next time we meet!